What is PID Tuning
PID tuning, or Proportional-Integral-Derivative tuning, is a crucial process in 3D printing, specifically for controlling the temperature of your printer’s hotend and bed. The goal of PID tuning is to achieve stable and accurate temperature control. This ensures that your 3D printer maintains the correct temperatures for melting and extruding filament, which is critical for successful prints. Without proper PID tuning, you might experience temperature fluctuations, leading to inconsistent layer adhesion, warping, and other print quality issues. The PID algorithm works by continuously monitoring the temperature and adjusting the power supplied to the heating elements to maintain the desired temperature, counteracting any deviations or disturbances.
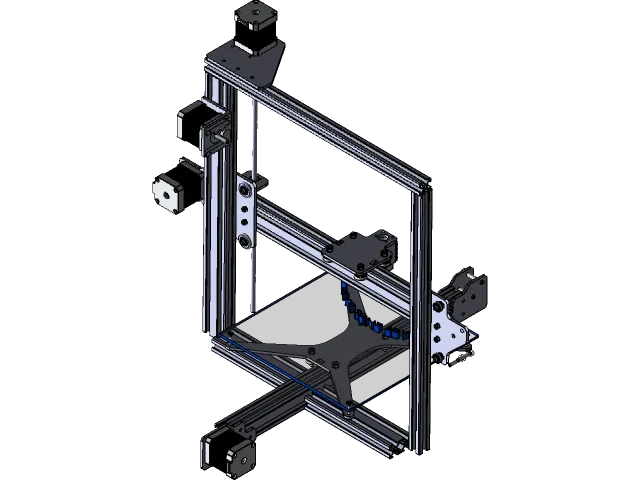
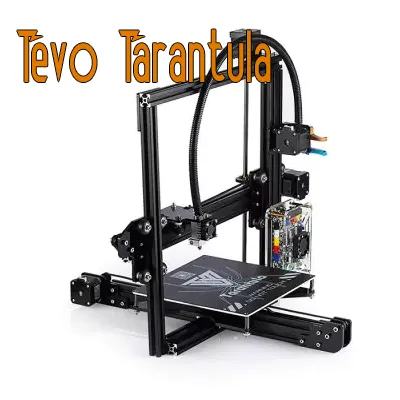
Why is PID Tuning Important for Your Tevo Tarantula
The Tevo Tarantula, like many 3D printers, benefits significantly from PID tuning because of its heating system and overall design. While the stock settings might allow for some printing, they often aren’t optimized for the specific components and environment in which the printer is used. PID tuning helps to minimize temperature fluctuations, reduce overshoot and undershoot, and achieve a more stable temperature profile. This, in turn, improves print quality, consistency, and the overall reliability of your prints. Furthermore, by optimizing the temperature control, you can potentially print a wider range of filaments and achieve better results with challenging materials.
The Basics of PID Control

PID control is a feedback loop system that continuously monitors and adjusts the output to maintain a desired setpoint. In the context of 3D printing, the setpoint is the target temperature of the hotend or the print bed. The PID controller calculates the error, which is the difference between the current temperature and the setpoint, and then uses this error to determine the appropriate power output for the heating element. The three components, Proportional (P), Integral (I), and Derivative (D), each contribute differently to the control process. The proportional term provides a response proportional to the error, the integral term accumulates the error over time to eliminate steady-state errors, and the derivative term anticipates future errors based on the rate of change of the current error.
Understanding the P, I, and D values
The P, I, and D values are the tuning parameters that determine how the PID controller responds to temperature errors. The Proportional (P) value determines the immediate response to the error. A higher P value results in a stronger response, but it can also lead to overshoot and oscillations. The Integral (I) value addresses the accumulated error over time. A higher I value helps to eliminate steady-state errors, but it can slow down the response and cause instability. The Derivative (D) value anticipates future errors based on the rate of change of the error. A higher D value can improve stability and reduce overshoot, but it can also make the system more sensitive to noise. Finding the right balance between these values is essential for optimal temperature control.
Step-by-Step Guide to PID Tune Tevo Tarantula
Now, let’s get into the practical steps of PID tuning your Tevo Tarantula. This process involves accessing your printer’s settings, running an auto-tune process, and then fine-tuning the values based on your observations. Remember that every printer is slightly different, so the optimal PID values may vary. Patience and careful observation are key to achieving the best results. Always make small adjustments and test the results before making significant changes. Following these steps will help you achieve stable and accurate temperature control for your Tevo Tarantula, leading to improved print quality and a more reliable 3D printing experience.
Preparing Your Tevo Tarantula

Before you begin, ensure your Tevo Tarantula is properly assembled and functioning correctly. Check all connections, especially those related to the hotend and heated bed, as loose connections can lead to temperature fluctuations. Make sure your thermistors are securely in place and that your printer is on a stable surface. Also, preheat your hotend and bed to their respective printing temperatures to ensure the PID tuning process starts with the components at a functional temperature range. It’s also recommended to have a way to monitor the temperature, like using the printer’s control panel or a software interface like Pronterface or OctoPrint, which allows you to observe the temperature readings and make adjustments.
Accessing the PID Settings
You’ll need to access your printer’s firmware to adjust the PID settings. This is typically done through the printer’s control panel or via a software interface if your printer is connected to a computer. Most Tevo Tarantula printers run on Marlin firmware. Navigate to the settings menu on your printer’s control panel, and look for the PID settings or auto-tune options. Alternatively, you can connect your printer to a computer and use a terminal program (like Pronterface or OctoPrint) to send G-code commands. The command M303 E0 S200 C8 will auto-tune the hotend (E0) to 200 degrees Celsius for 8 cycles (C8), adjust the parameters as needed for the bed.
Initial PID Values and Auto-Tune
The easiest way to start is by using the auto-tune function in your printer’s firmware. This function will automatically calculate the PID values based on your printer’s heating characteristics. Using the G-code command M303 is the standard method, but the process varies depending on your firmware. For the hotend, you will typically specify the extruder number and the target temperature. For example, the command M303 E0 S200 C10 will auto-tune the hotend (E0) to 200 degrees Celsius over 10 cycles. After running the auto-tune, the printer will provide the calculated PID values. Write these values down, and then enter them into your firmware settings. The command M500 will save these settings in EEPROM.
Fine-Tuning the PID Values
After auto-tuning, you may need to fine-tune the PID values for optimal performance. Start by observing the temperature behavior of your hotend and bed during printing. If you notice overshoot (the temperature exceeds the setpoint and then stabilizes), reduce the P value slightly. If the temperature takes too long to reach the setpoint, increase the P value. For temperature fluctuations, adjust the D value. A higher D value can help reduce oscillations. Small incremental adjustments are better than large ones. After each adjustment, test the results by heating your hotend/bed and monitoring the temperature stability. Record and track your changes to understand which values work best.
Testing and Iteration
After making adjustments, it’s essential to test your PID settings by printing a small, uncomplicated object. This will allow you to observe whether the temperature is stable during the printing process. Monitor the temperature readings during the first few layers to check for any fluctuations or inconsistencies. If you observe any issues, go back to the tuning process and make further adjustments. Iteration is key. It might take a few attempts to find the perfect PID values for your printer. Keep a record of your adjustments and the results to help you understand the impact of each change and find the optimal settings for your Tevo Tarantula. Remember that environment changes can also impact PID values.
Troubleshooting Common PID Tuning Issues
You might encounter some common issues during PID tuning. Over- and undershooting is a common problem, often caused by incorrect P, I, or D values. Temperature fluctuations, another common issue, can be due to a variety of factors, including loose connections or incorrect PID settings. If you encounter such problems, revisit the tuning process, check all connections, and ensure your PID values are within a reasonable range. Also, check the voltage of your power supply, as insufficient power can also lead to temperature instability. If the problem persists, consult online forums or resources for further troubleshooting assistance. Also, make sure your hotend is correctly insulated to prevent heat loss and temperature instability.
Over- and Undershooting

Over- and undershooting occur when the temperature goes above or below the setpoint and oscillates before stabilizing. To address overshooting, decrease the P value, which reduces the immediate response to the error. If you see undershooting, slightly increase the P value to increase the response. Adjusting the D value can also help to minimize overshoot. Small incremental changes are essential. Also ensure there’s no draft that can influence the temperature.
Temperature Fluctuations
Temperature fluctuations can manifest as inconsistent temperature readings during printing. These fluctuations can be caused by several factors, including incorrect PID values, loose connections, or insufficient power. First, ensure all connections to your hotend and heated bed are secure. If the problem persists, adjust the D value to increase the responsiveness. Ensure the power supply is adequate for your printer’s needs. Also, check your thermistor wires for damage.
Saving and Applying Your PID Settings
Once you are satisfied with your PID settings, save them to your printer’s EEPROM. This will ensure the settings are retained even after you power cycle your printer. Use the M500 G-code command to save the settings. You may need to send a M501 command to load the settings. Additionally, be sure to document the PID values you’ve used for future reference. This documentation helps if you need to revert to previous settings or if you modify your printer in the future. Keeping a log of your adjustments can be invaluable, especially if you’re making changes to your printer.
Resources and Further Learning

PID tuning can be a rewarding process, leading to significant improvements in your 3D prints. However, it can also be complex. Fortunately, a wealth of resources is available online to guide you. Many online 3D printing communities and forums provide valuable insights and troubleshooting tips. YouTube channels and other online resources offer tutorials and guides on PID tuning. Utilize these resources to learn more about the process and to find solutions to specific problems you might encounter. Don’t hesitate to experiment and share your findings with the 3D printing community.