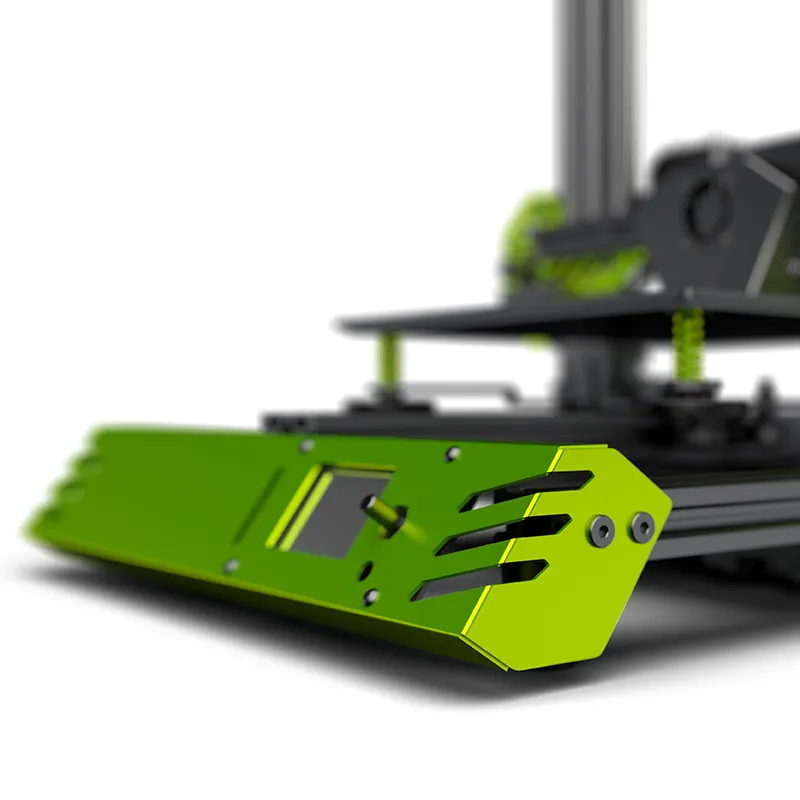
What is the Tevo Tarantula Pro 3D Printer Kit
The Tevo Tarantula Pro is a popular, affordable 3D printer kit that offers a great entry point into the world of 3D printing. Known for its ease of assembly and the potential for impressive print quality, the Tevo Tarantula Pro allows users to build their own 3D printer from the ground up. This hands-on experience is ideal for beginners and enthusiasts who want to learn about the inner workings of 3D printing technology. With its open-frame design and a build volume suitable for a variety of projects, the Tevo Tarantula Pro is a versatile machine capable of producing a wide array of objects, from functional prototypes to decorative items. This guide will walk you through the assembly process, making it easy and straightforward.
Understanding the Tevo Tarantula Pro Kit
The Tevo Tarantula Pro kit includes all the necessary components to build a fully functional 3D printer. This means you’ll receive various mechanical parts, such as the frame, rods, and belts, along with electronic components like the control board, stepper motors, and power supply. You’ll also find the hotend, which melts the filament, and the heated bed, which provides a stable surface for printing. The kit typically comes with an SD card containing sample print files and the software needed to operate the printer. Understanding each part is key to successful assembly and printing. This kit offers an excellent opportunity to become familiar with the core components of a 3D printer and how they work together.
Key Components of the Kit

Before you begin, familiarize yourself with the key components. The frame provides the structural support for the entire printer. The heated bed, usually made of aluminum or glass, allows the first layer of your print to adhere properly. The hotend is responsible for melting the filament, and the extruder pushes the filament through it. Stepper motors control the movement of the print head and the bed, allowing for precise 3D printing. The control board acts as the brain of the printer, managing all operations, while the power supply provides the necessary electricity. Understanding these components and their roles will help streamline the assembly process and make troubleshooting easier.
Step 1 Preparing the Base
The base is the foundation of your 3D printer. Taking your time during this initial step will help ensure stability and accuracy in later stages of the build. This step involves assembling the frame of the printer, ensuring all parts are securely fastened, and preparing the heated bed for installation. Proper preparation during this phase is crucial for a stable and level printing surface. It’s important to avoid over-tightening screws and make sure the frame is square. A well-constructed base is essential for achieving high-quality prints.
Unpacking and Inventory
Carefully unpack all the components from the kit. It’s a good idea to create a workspace to organize your parts. Refer to the parts list provided in the manual to make sure you have all the required components. Separate the parts by type (e.g., screws, rods, electronic components) and keep them in labeled containers. Double-checking that you have everything at the start will prevent frustration later on and ensure a smooth assembly process. It’s also a good time to visually inspect all the components for any damage or defects.
Securing the Base Frame

Assemble the base frame by connecting the frame components using the appropriate screws and brackets. Make sure the frame is square and all corners are aligned. Tighten the screws securely, but avoid over-tightening, which can strip the threads. Once the base frame is assembled, ensure it’s stable and does not wobble. You can use a level to check if the frame is aligned correctly. At this stage, you may also attach the heated bed supports or brackets to the base frame, following the instructions in the manual. Pay close attention to the orientation of the parts to ensure correct assembly.
Step 2 Assembling the Z-Axis
The Z-axis controls the vertical movement of the print head. Accurate Z-axis assembly is vital for achieving proper layer adhesion and print height. This step involves installing the stepper motor, lead screws, and related components. It’s a good idea to ensure the Z-axis moves smoothly up and down. Make sure the lead screws are properly aligned and not binding. Pay attention to the alignment, making sure the Z-axis is straight and perpendicular to the base frame. This ensures that each layer is correctly placed.
Attaching Z-Axis Motors and Supports
Mount the Z-axis stepper motors to the frame. Ensure the motor shafts are aligned with the lead screws. Secure the motor mounts to the frame. Next, attach the Z-axis supports, which will hold the lead screws in place. Properly aligning the Z-axis supports will help to ensure the lead screws remain vertical. Check that the motor shafts are securely attached to the lead screws. Smooth movement is crucial at this stage. Make sure all the screws are tightened, but don’t over-tighten.
Installing the Z-Axis Lead Screws

Carefully insert the lead screws through the Z-axis supports and into the motor couplers. Make sure the lead screws are straight and do not bind as they rotate. Tighten the couplers to secure the lead screws to the motor shafts. Once the lead screws are in place, they need to move freely. You may need to gently adjust the alignment of the supports to ensure smooth operation. After assembling the Z-axis, test its movement. It should move smoothly without any resistance, from the top to the bottom of its travel range. If the movement feels rough or jammed, recheck your assembly and adjust as needed.
Step 3 Mounting the X-Axis and Extruder
The X-axis supports the print head and the extruder, moving them horizontally across the build surface. Accurate assembly of the X-axis is crucial for achieving precise prints. This step involves mounting the X-axis to the Z-axis supports, connecting the motor and belt drive, and attaching the extruder. Make sure the X-axis moves smoothly along the Z-axis rails. Properly aligning the X-axis components is essential for ensuring the print head moves correctly across the build area.
Connecting the X-Axis Belt and Motor
Mount the X-axis motor to its designated location on the frame. Install the pulleys and belt according to the manual. Ensure the belt is tensioned correctly; it should be firm but not overly tight. Secure the belt ends, ensuring they will not slip during operation. Check that the X-axis moves smoothly along the Z-axis rails. Proper belt tension is important to avoid print defects. You may need to adjust the belt tension using the provided tensioning mechanism. A properly tensioned belt helps to ensure accurate positioning of the print head.
Attaching the Hotend and Extruder

Mount the hotend and extruder assembly to the X-axis carriage. Connect the necessary wiring, including the thermistor and the heating element. Ensure the hotend is securely attached and does not wobble. Install the extruder motor and filament feed mechanism. The extruder must be securely mounted. Check that the filament can be fed through the extruder and hotend without obstruction. Double-check all connections, as proper wiring is critical for the hotend and extruder to function correctly. The hotend and extruder are critical for the successful melting and extrusion of the filament.
Step 4 Wiring the Electronics
Wiring the electronics is a crucial step, as it brings the printer to life. It involves connecting the stepper motors, endstops, heated bed, and power supply to the control board. Careful and precise wiring is essential for the printer to function correctly and safely. Double-check all connections before powering up the printer. Properly connected electronics will enable the printer’s motors, heating elements, and sensors to work in unison. Take your time, follow the manual, and ensure all connections are secure.
Connecting Stepper Motors and Endstops
Connect the stepper motor wires to the control board, ensuring they are plugged into the correct sockets. Refer to the manual for the correct wiring order. Connect the endstop switches to their respective ports on the control board. The endstops are essential for defining the limits of each axis, preventing the printer from moving beyond its boundaries. Make sure the endstop switches are securely mounted and correctly positioned to trigger when each axis reaches its limit. Double-check all connections to ensure the correct polarity. Proper wiring of the stepper motors and endstops will enable accurate movement and prevent errors during printing.
Wiring the Heated Bed and Power Supply

Connect the heated bed wires to the control board, following the wiring diagram in the manual. Ensure the connections are secure and properly insulated to prevent short circuits. Connect the power supply to the control board and the main power. Make sure the voltage selector on the power supply is set to the correct voltage for your region. Double-check all connections, as improper wiring can be a fire hazard. After completing the wiring, it’s a good idea to visually inspect all the connections before powering on the printer. Use cable ties to organize the wires and keep them away from moving parts.
Step 5 Calibration and First Print
Calibration is the final step before you can start printing. This step involves leveling the bed, adjusting settings in the printer’s firmware, and testing with a calibration print. Proper calibration ensures that the first layer of your print adheres correctly to the bed and that the printer functions as expected. Take the time to carefully calibrate your printer before starting your first print. Once the calibration is done, you’ll be ready to load the filament and start your first print. The quality of your first print will demonstrate how well you’ve assembled and calibrated your printer.
Leveling the Bed
Level the print bed using the adjustment knobs or screws located on the bed. Use a piece of paper or a leveling tool to check the distance between the nozzle and the bed at several points. Adjust the bed height until the nozzle just barely scrapes the paper. Repeat this process at several points on the bed to ensure the entire surface is level. Proper bed leveling is essential for the first layer to adhere properly. You might need to adjust the bed level during the first print. A properly leveled bed will result in a successful first print.
Loading Filament

Insert the filament spool onto the spool holder. Feed the filament into the extruder and hotend. Heat the hotend to the recommended temperature for the type of filament you are using. Gently push the filament through the hotend until it begins to extrude. Make sure the filament flows smoothly from the nozzle. Check the hotend temperature. Make sure the filament is extruded evenly. Proper filament loading is critical for successful printing, and it helps avoid clogs and print failures. If you’re having trouble feeding the filament, consult the manual.
Starting Your First Print
Select a test print file from the SD card that came with the kit or prepare a small test print in slicing software. Start the print and monitor the first layer to ensure it adheres to the bed. Adjust the bed level or nozzle height if needed. Observe the print and make any necessary adjustments to the settings. Watch the progress of the first few layers to check for any issues. If the first layer is not adhering properly, stop the print and re-level the bed or adjust the nozzle height. Once the print is complete, carefully remove the printed object from the bed. Starting with a test print is recommended, and it is a good practice to learn about the printer and any necessary adjustments.
Troubleshooting Common Issues
During the assembly and printing process, you may encounter some common issues. These include problems with bed leveling, filament jams, motor issues, and electrical problems. Always check the manual and online resources, such as forums and videos, for solutions. Common problems include the bed not leveling properly, and you may need to re-level the bed. Filament jams may be caused by incorrect settings or filament quality. Motor problems may occur due to incorrect wiring. Electrical problems can occur, so double-check your wiring. With patience and the right troubleshooting steps, you should be able to resolve any issues you encounter. Troubleshooting is part of the learning curve when assembling and operating a 3D printer. This will help you learn about your printer and how to maintain it.